This will show you some of the pictures I've got after trying to make my own candles. There is a separate note where I’ve written my observations, mistakes, solutions, ideas, and conclusions from this experiment but I find it too long to include here. I may not be able to tell you a concise information about making candles in just one go but if you will subscribe in my blog you will learn the clues along the way.
Candle making is science - it’s not easy like what you think, there too much information to learn and lots of testing required. I’ll gonna tell you now “candle making can be intimidating and is very expensive”.
I hope that these pictures are already self-explanatory especially to those who are on their way into candle making.
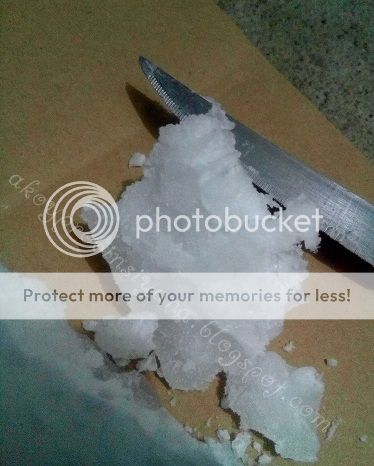
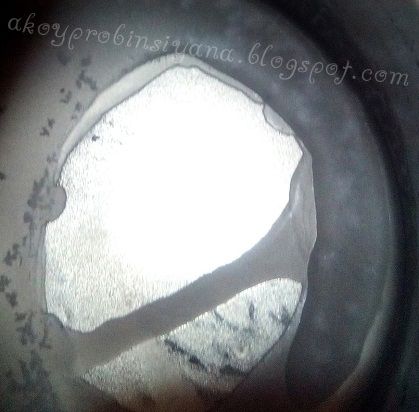
This is the side of a paraffin slab. It has an uneven and crumbly texture. It's quite opaque yet translucent in some areas. This could be just the characteristic of pure paraffin slab. You will also see the presence of tiny glittery-like specs around the surface of this side of paraffin.
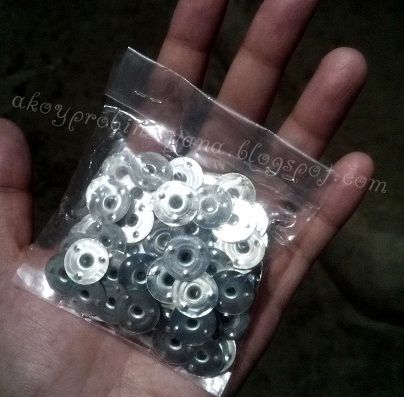
Different wax types and the addition of fragrances and dyes will affect the size of wick needed.
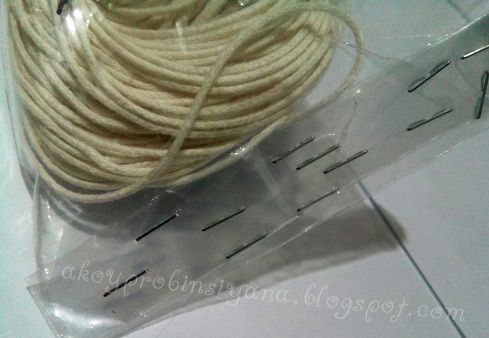
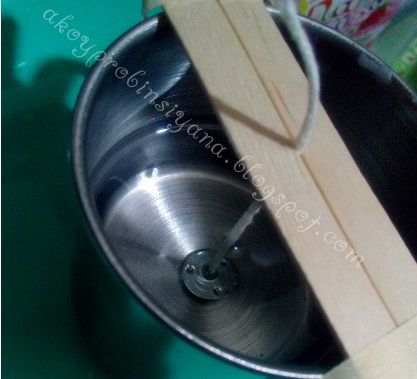
I can’t help noticing the exaggerated staples.
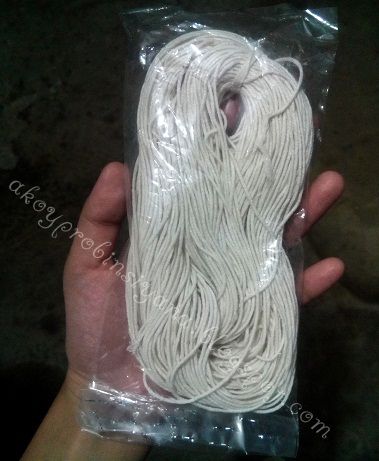
This is known as nylon wick here in the Philippines. But in other countries, I believe it’s called “nylon-cored wick”. There is a single thin nylon thread at the center of braided cotton.
Texture is not what I expect it to be. I assumed that I will get a fully-refined slab.
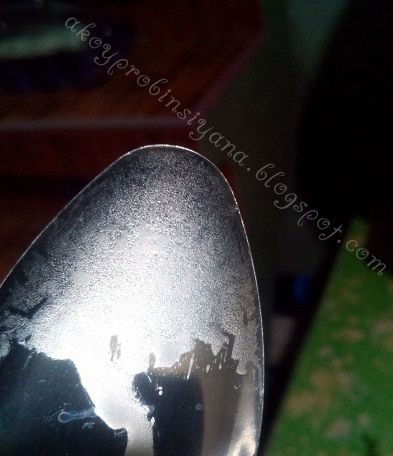
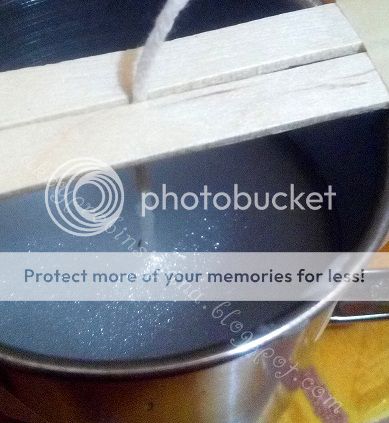
Few minutes after the melted wax was poured, it started to solidify. The color is far from those ordinary dipped candles sold at grocery stores. I expect it to be just translucent, not shimmery.
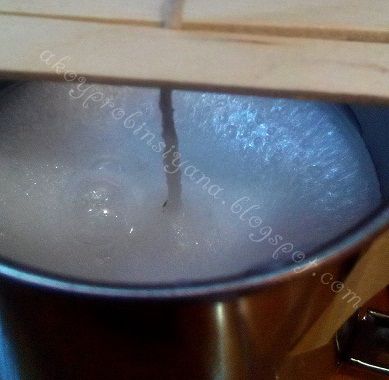
There is a huge one bubble at the left side of the container. The wax crystallized and has a shiny appearance. It looks like a palm wax to me (though I haven’t seen one in real life). This is plain paraffin, 5 hours after it was poured.
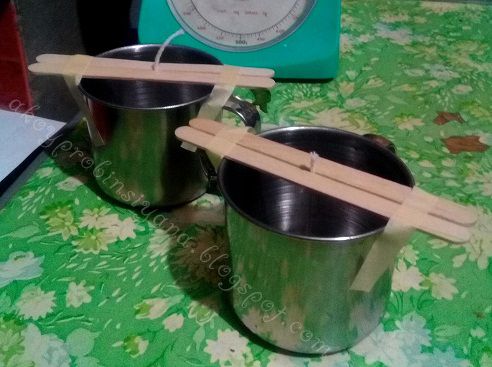
There’s no tunneling yet. Cup 1 looks better than cup 2.
This already shows minimal tunneling. The protruding bump at the right side of the wick are bubbles. For now, the cause of bubbles is a mystery to me. I’m guessing some possible reasons though.
Next will be doing a test burn to know what diameter size the wick can cover. I also want to know how this kind of wax behaves. I’m contemplating between melting another wax to 80C (right temperature reading this time) or rest the case since I can only do little about the “mottling issue”. I don’t feel doing the only option of slowly cooling it in a very warm controlled area.
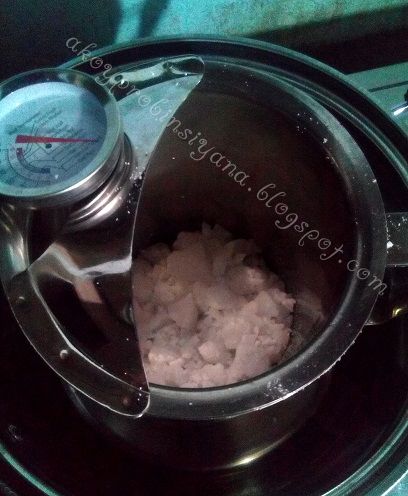
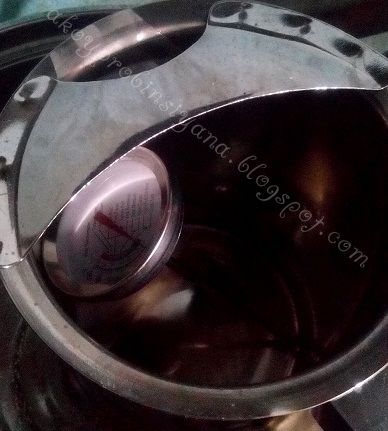
*The 60C and 80C was not the accurate wax temperature due to mistake I did with the thermometer.


Hi, Do you have any idea, where to buy Candle Molder ?
ReplyDelete