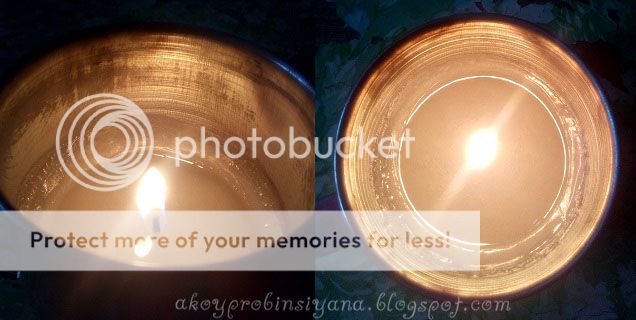
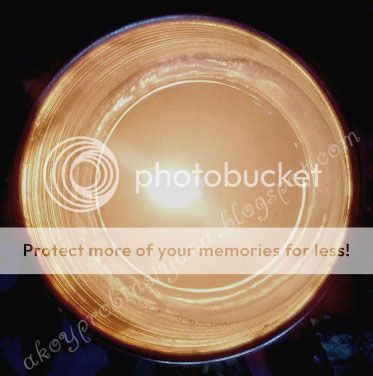
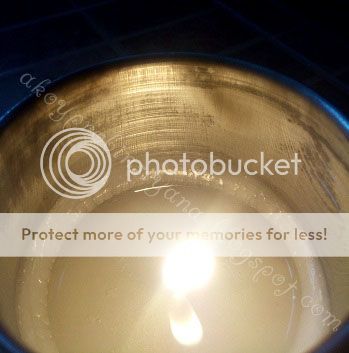
The purpose of burn test is to determine the quality of the candle and ensure it will burn safe especially that fire is involved. Here you will see the the pictures I've got for the second burn test.
I'm not sure if I'm doing this burn test in the right way. All I know is that it should have a proper melt pool once it reaches the equivalent hour of the diameter of the container. In this paricular container it should be 2 hours and 30 minutes. So far, articles online advises to burn test for 4 hours and repeating till the end of the candle's life. I have to read more.
I wiped the surface of this candle prior this second burn test. So far, the wax was not bleeding oil.
I didn’t trim the candle since it already looks small for me. Because of that, the flame was smoking and there was black soot that stains the metal cup container. It didn’t help that the fire was consistently flickering since the very first test burn. The flame was high. I’m not sure if that was the reason why the right side of the metal cup turned reddish later on. I swiped my finger on that area and my finger smelled like iron. Chemical reaction? I’m wondering whether the flame burned the coat of the metal, or is there such thing?
 |
| 30 minutes |
Here you will see the soot near the opening of the metal cup.
After the first 30 minutes, I finally trim the wick into ¼ inch and straightened it. That stopped the flame from producing smoke and soot. It's a general rule to always trim the candle to ¼ inch but it’s likely that only few will follow that especially here in our country. Some buyers might not even know that they have to. For the past years, I was only exposed with tapered kind of candles with a self-trimming wick. I didn't know that I have to trim the wick of candles in containers.
 |
| 1 hour |
There's still tiny bubbles inside the melt pool all throughout this burning cycle. The increase of tiny bubbles became apparent in this period.
 |
| 1 and 30 minutes |
I've tilted the candle just to see how deep the meltpool is. It may look like the candle is having an off center melt pool again but it was just an optical trick because of tilting it.
It seems that there was no more notable change at this moment. The flickering is consistent, but I haven't really paid attention if it ever stopped.
 |
| 2 hours |
 |
| 2 and 30 minutes |
I noticed that those moved wax found on the wall of the metal cup due to tilting the can has some bubbles too. The wax hardened with those bubbles.
The meltpool underneath actually reached the side of the metal cup. It's just that the flame didn't melt the ring of hard wax above the melt pool. You will see in the picture that the hardened wax and the liquid wax are not in the same level.
- Burn 1 candle all day long without trimming the wick to see the extent of damage it will make.
- Burn a candle for 4 hours, the proper span of a burn test. I wonder why specifically 4 hours? Then give the candles with 5 hours cooling interval.

No comments:
Post a Comment